Ethical Consideration
Students having their picture taken is a process which must be authorised ahead by their parents, or legal guardian. Students not participating in the picture taking activity can draw themselves as they wish. Later, picture of their drawing can be taken.
Particular Attention Paid to Special Needs Students
If there are students with a physical or cognitive impairment that limits their full participation in any of the activities, they can be provided with a drawing task to engage them with the concepts through their preferred format (small chalkboard, paper, or their chrome book).
Time: 90 minutes
Material: chrome book, cell phone, printer
Space: classroom or outside
Focus: Self appropriation and application of concept of physics to the human body through drawing and embodiment.
Theme: Line of gravity, base of support and center of gravity, Free body diagram
Definitions
- The line of gravity, its direction is always toward the centre of the earth, and it is a constant.
- The free body diagram
Step 1
Picture-Taking
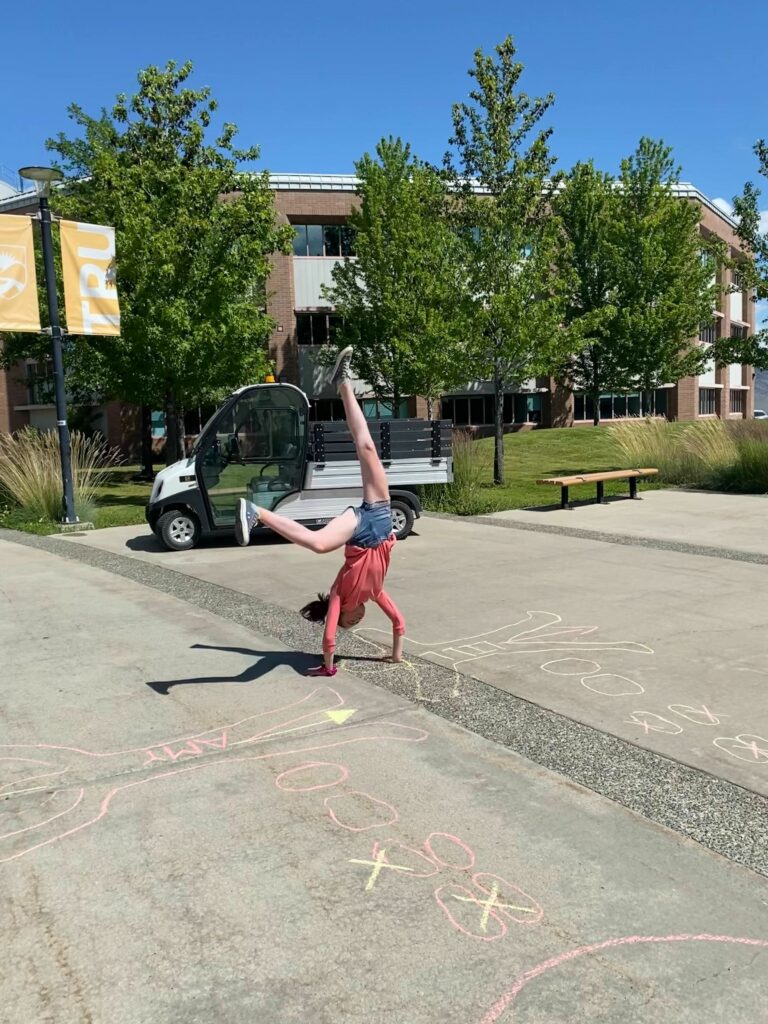
Ask students to pair up. Using cell phones or chrome books, students will take one picture of each other in the position of their choice. Remind them that there is no obligation to participate in this activity.
Step 2
Drawings on Pictures
This additional activity implies a previous understanding of the concept of the gravity line, the base of support, and the centre of gravity.
After printing their picture, depending on their level of understanding.
Ask the students to draw: a circle for the base of support, the gravity line with an arrow, and the centre of gravity with a cross on their printed picture.
Have them paste their picture on their booklet.
Step 3
Presentation of Free Body Diagram
Depending on their level of understanding, watch a video on Free body diagram.
Step 4
Representation of Forces
Ask students to pair up.
Have them discuss and draw on their booklet, what they understood from the video what is a free-body diagram.
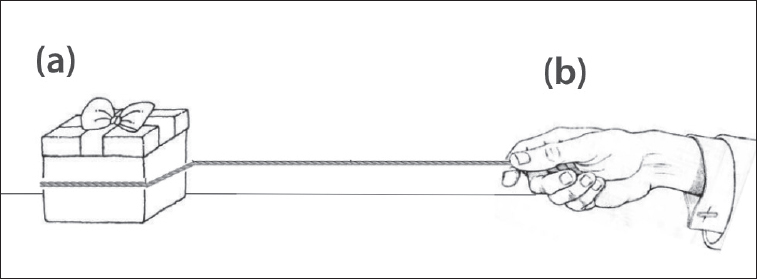
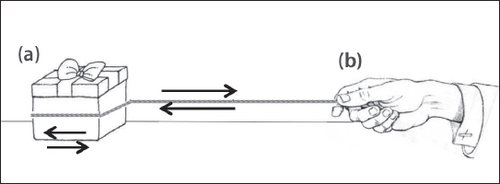
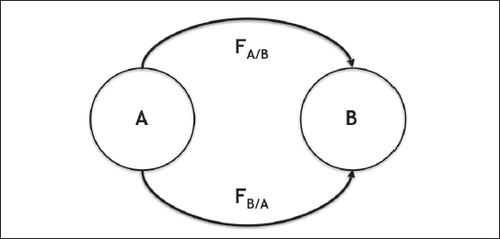
Show the students various representations of forces, when pulling an object.
Make them draw and reconstruct some intuitive models to understand free-body diagram.
Various Representations


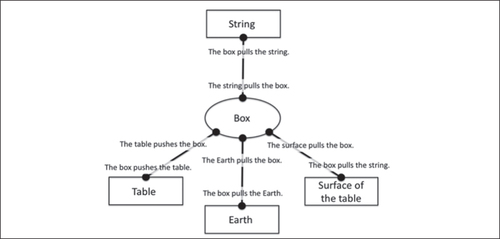
Step 5
Analogy and Drawing Tips
Start with a discussion about the analogy of the box-table from the previous activity and the body sitting on the chair.
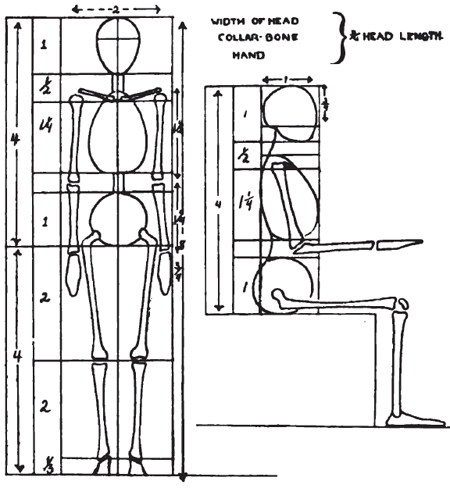
Have them draw a human body in different positions with some lines and circles to represent forces applied. Students can use pencils, paint brushes, Chrome book, etc to draw their figures in their booklets.
Some example stick figures, like illustration A, B, C and D, can be given to the students to assist them with their personal drawings.
Illustrations
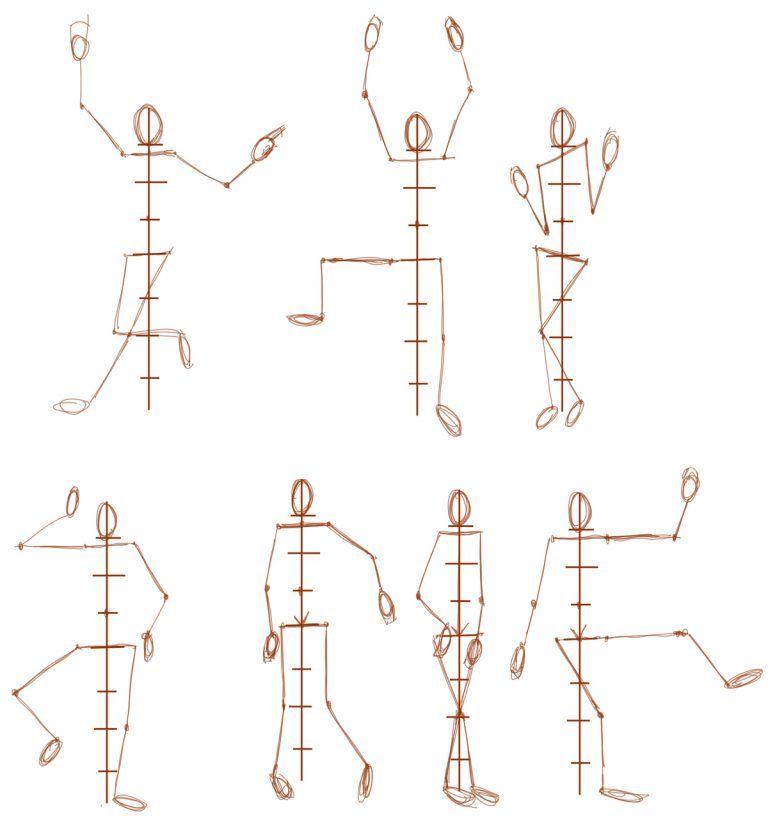
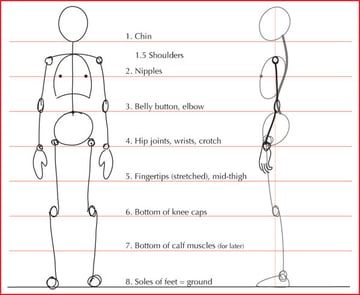
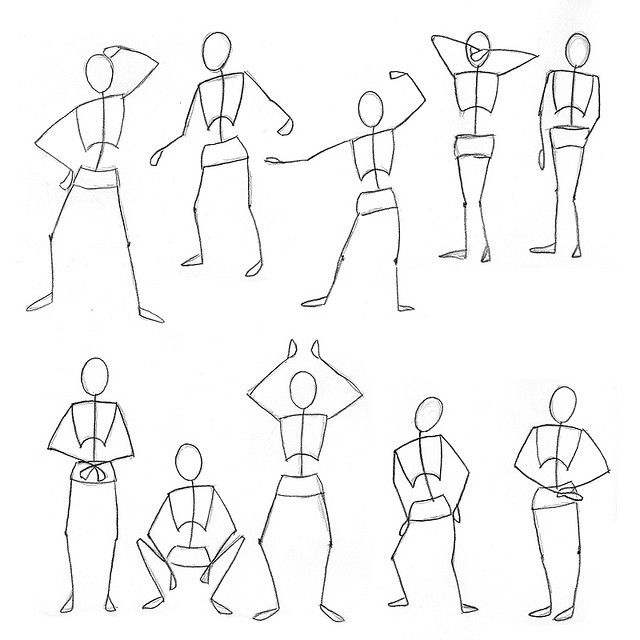
Step 6
Exit ticket
Write one question about today’s content – something that has left you puzzled.
What lesson do you want to explore next?


